Subscribe to AI newsletter
Your data is complely secured with us. We don't share with anyone.
Turn videos into LivePhotos, animate static images with AI, create LivePhoto wallpapers, and convert between GIF and LivePhoto formats easily.
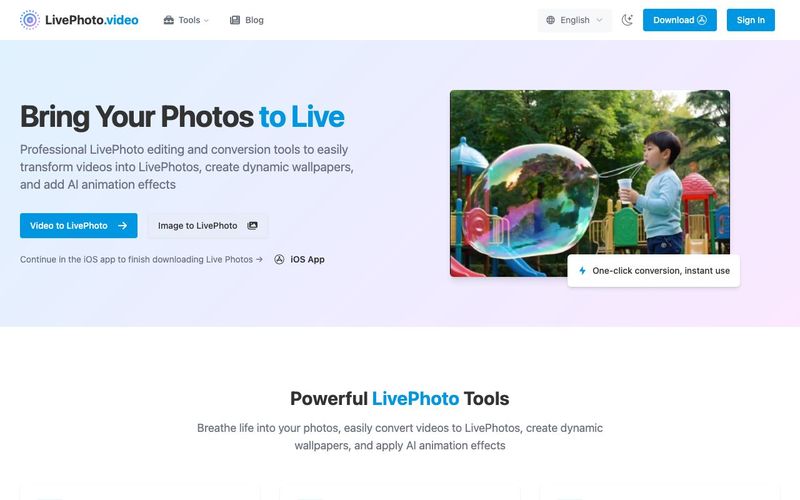
LivePhoto.video is a versatile AI tool designed to transform static photos and short videos into dynamic LivePhotos, GIFs, and animated wallpapers. With advanced image generation capabilities, it allows users to breathe life into their images, create dynamic iPhone lock screens, and share animated content seamlessly across social media platforms.
With LivePhoto.video, converting videos to LivePhotos is effortless. Users can take their favorite short video clips and instantly turn them into vivid LivePhotos, perfectly optimized for lock screens or personal sharing. The platform also supports converting LivePhotos to GIFs and vice versa, enabling flexible content adaptation for different devices and social media platforms. Automatic display optimization, custom cropping, and size adjustments ensure every LivePhoto looks professional and visually engaging.
The AI-powered animation features of LivePhoto.video allow even static photos to come alive. Intelligent subject recognition and multiple animation effects make it ideal for portraits, landscapes, or treasured memories. Additionally, old photo restoration combined with subtle animation effects gives nostalgic images a refreshing, lifelike quality.
For social media enthusiasts, LivePhoto.video offers one-click optimization for multiple output formats and sizes, making it simple to share creations directly to platforms like Instagram, Twitter, or TikTok. Users can convert LivePhotos into GIFs or short videos for easy online sharing, enhancing engagement and visual storytelling.
Whether you want to create LivePhoto wallpapers, animate cherished moments, or repurpose existing GIFs, LivePhoto.video provides a professional, user-friendly solution. By combining intelligent AI animation with image generation, it transforms ordinary media into vibrant, interactive experiences, making your photos and videos truly unforgettable.
Before starting, you need to prepare a suitable 3-second video clip.
How to Use Our Tool:
Access Our Video Converter
Visit our Video to LivePhoto page
Upload your video file (supports MP4, MOV, and other formats)
Select the Best Segment
Use the timeline to choose your desired 3-second clip
Preview the effect to ensure smooth, natural footage
Adjust aspect ratio (supports 1:1, 9:16, 16:9, etc.)
Download the Trimmed Video
Click the "Convert Video" button
Wait for processing to complete, then download the 3-second video file
Save the video to your iPhone camera roll
Start with our official companion app (built by the same team behind LivePhoto.video), then explore the other trusted options below if you need advanced editing or niche features.
Method 1: Using Lively (Official LivePhoto.video App)
Lively: Video to Motion Photo is the native iOS companion to our web trimmer, designed for a seamless "trim on web → convert on phone" workflow.
Why Choose Lively?
Built by the LivePhoto.video team for a frictionless pipeline
Precise trim, speed, and cover-frame controls before export
Exports high-resolution Motion Photos, looped videos, and GIFs without watermarks
Clean gallery to organize creations and share later
Works on iPhone/iPad running iOS 15 or later
Tap “New Project” on the Home Screen
Install Lively: Video to Motion Photo and open the app
On the home screen, tap New Project, then pick the 3-second clip you trimmed on LivePhoto.video (Photos, Files, or AirDrop)
Fine-Tune and Export
Use the timeline to make frame-level tweaks, adjust playback speed, or change the cover frame as needed
When you're happy with the preview, tap the export icon in the top-right corner and choose Save as Live Photo to send it to your camera roll
You can also export a looped video/GIF and keep every project organized inside Lively's gallery
Method 2: Using intoLive (Most Recommended Third-Party App)
intoLive is currently the most popular and stable video-to-LivePhoto app.
Open the intoLive app
Tap "Video to Live Photo"
Select your 3-second video from the camera roll
Edit and Adjust
Use the bottom slider to precisely select the video segment
Add filter effects (optional)
Adjust playback speed (optional)
Add text or stickers (optional)
Generate LivePhoto
Tap the "Make" button in the top-right corner
Choose repeat count (free version only allows "No Repeat")
Tap "Save Live Photo"
Set as Wallpaper
Find the generated LivePhoto in your camera roll
Tap the share button
Select "Use as Wallpaper"
Ensure the LivePhoto icon is enabled
Choose "Set Lock Screen" or "Set Both"
intoLive Limitations:
Free Version: Process videos up to 5 seconds, no repeat playback
Pro Version: Process videos up to 30 seconds, supports multiple loops
VideoToLive is the most comprehensive LivePhoto creation tool.
VideoToLive Features:
Supports video collaging
Built-in GIF maker
Advanced editing tools
Batch processing capabilities
Install the App
Download VideoToLive - Live Wallpapers
from the App Store
Select Function
Open the app and choose "Video to Live Photo"
Import your 3-second video file
Advanced Editing
Use video collage feature to combine multiple clips
Add transition effects
Adjust color and contrast
Export LivePhoto
Preview the final result
Tap export and choose LivePhoto format
Save to camera roll
Video to Live Wallpaper is perfect for users who need batch processing.
Main Advantages:
Supports multiple image sequences to LivePhoto
No duration limit (but actual playback ~1.5 seconds)
Works completely offline, protecting privacy
One-tap wallpaper setting
Download and Install
Download Video to Live Wallpaper
from the App Store
Batch Import
Select single video or multiple images
Supports batch selection from camera roll (up to 10 images)
Create LivePhoto
Set playback order
Adjust frame duration
Generate LivePhoto with one tap
Direct Wallpaper Setting
Set as lock screen wallpaper directly within the app
No manual camera roll operations neede
Regardless of which app you use, the steps for setting LivePhoto wallpaper are similar:
Find Your LivePhoto
Locate the generated LivePhoto in the iPhone Photos app
Confirm the "LIVE" indicator in the top-right corner
Set as Wallpaper
Tap the share button (square with arrow icon in bottom-left)
Scroll down to find "Use as Wallpaper" option
Tap to enter wallpaper settings
Enable Live Effect
Ensure the Live Photo circular icon at the bottom is lit
Long-press to preview the Live effect
Choose Application Scope
"Set Lock Screen": Lock screen only
"Set Home Screen": Home screen only
"Set Both": Both lock and home screens
Test the Effect
Lock your iPhone and long-press the lock screen to view Live effect
Adjust Force Touch pressure for optimal experience
A Live Photo is an Apple feature that captures 1.5 seconds of video and audio before and after you take a still photo. When viewed on compatible devices, Live Photos come to life when you press and hold the image, showing movement and playing sound from the moment the photo was taken.
Live Photos are primarily designed for Apple devices, but our conversion tools allow you to transform them into universally compatible formats like GIFs and videos that can be viewed on any device or platform.
After creating or downloading a Live Photo, go to Settings > Wallpaper > Choose a New Wallpaper > Live Photos album, select your Live Photo, adjust as needed, and set it as your lock screen. Press firmly on the lock screen to see the animation.
While both show animation, Live Photos include audio and higher quality video that only activates when pressed on compatible devices. GIFs are silent, loop continuously, and are universally compatible across platforms but typically have lower quality and larger file sizes.
Use our Video to Live Photo converter - simply upload your video, adjust the duration and quality settings if needed, and convert. The resulting file can be saved to your iPhone's camera roll as a fully functional Live Photo.
Yes, open your iPhone camera app and look for the Live Photos icon (concentric circles) at the top of the screen. Tap to toggle it off (icon will have a line through it when disabled). You can also permanently disable it in Camera settings.Q: Why is my generated LivePhoto only 1-2 seconds long?
This is an iOS system limitation. True LivePhoto format is designed for brief dynamic effects, typically playing for only 1.5-3 seconds. For longer animations, consider using GIF format instead.
LivePhoto is Apple's proprietary format and cannot display properly on Android devices. However, you can share by:
Converting to GIF format
Exporting as regular video files
Using third-party apps to convert formats
Please check the following settings:
Ensure you're using iPhone 6s or newer
Check if the LivePhoto icon is enabled
Try resetting the wallpaper
Restart your device and try again
Limitations vary by app:
intoLive Free: Max 5 seconds, no repeat playback
VideoToLive Free: Basic features, watermarked
Video to Live Wallpaper: Completely free, no restrictions
Follow these tips:
Choose smooth, meaningful 3-second clips
Avoid fast movements or flickering footage
Ensure video quality is clear
Select clips that loop naturally when repeated
The iPhone Camera app can capture LivePhotos directly, but cannot convert existing videos to LivePhotos.
You must use third-party apps for conversion.

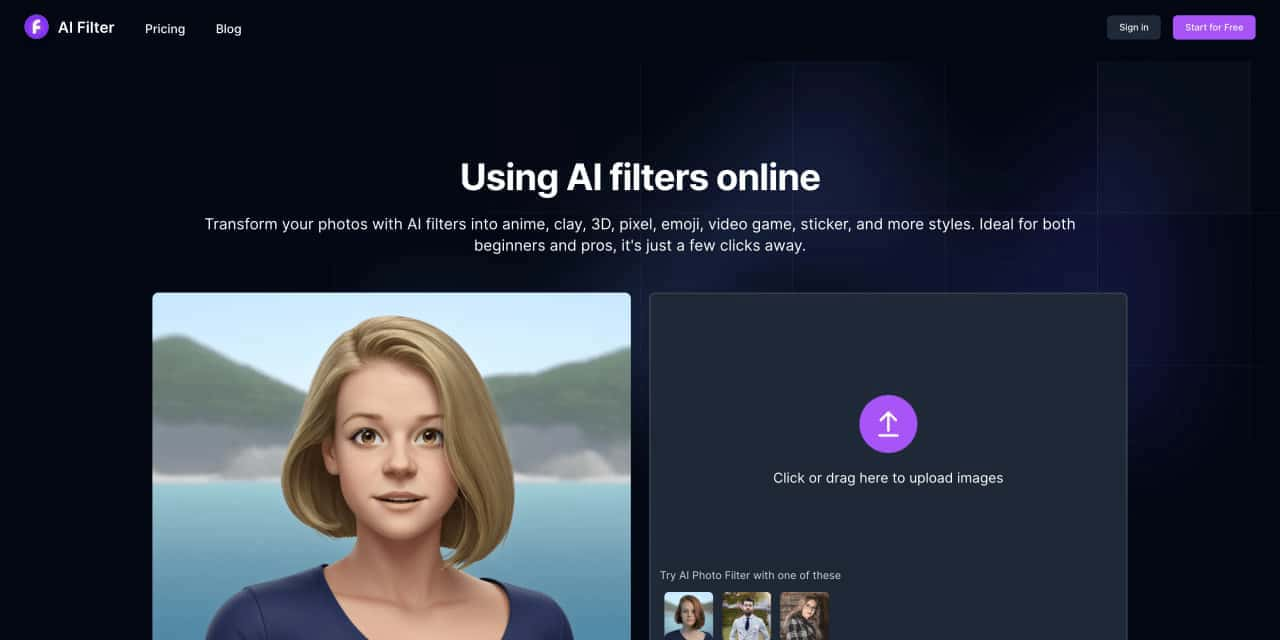
Transform your photos with AI filters into anime, clay, 3D, pixel, emoji, video game, sticker, and more styles
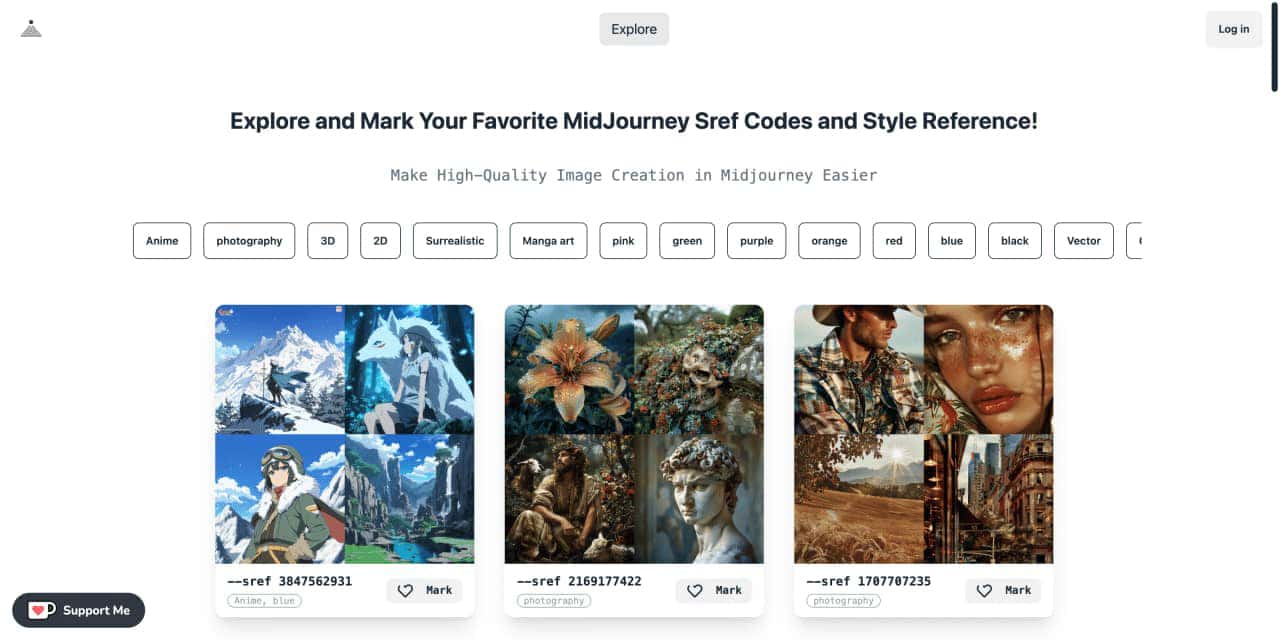
Explore a list of 181 unique midJourney sref code and style references to find your perfect MidJourney sref code effect.
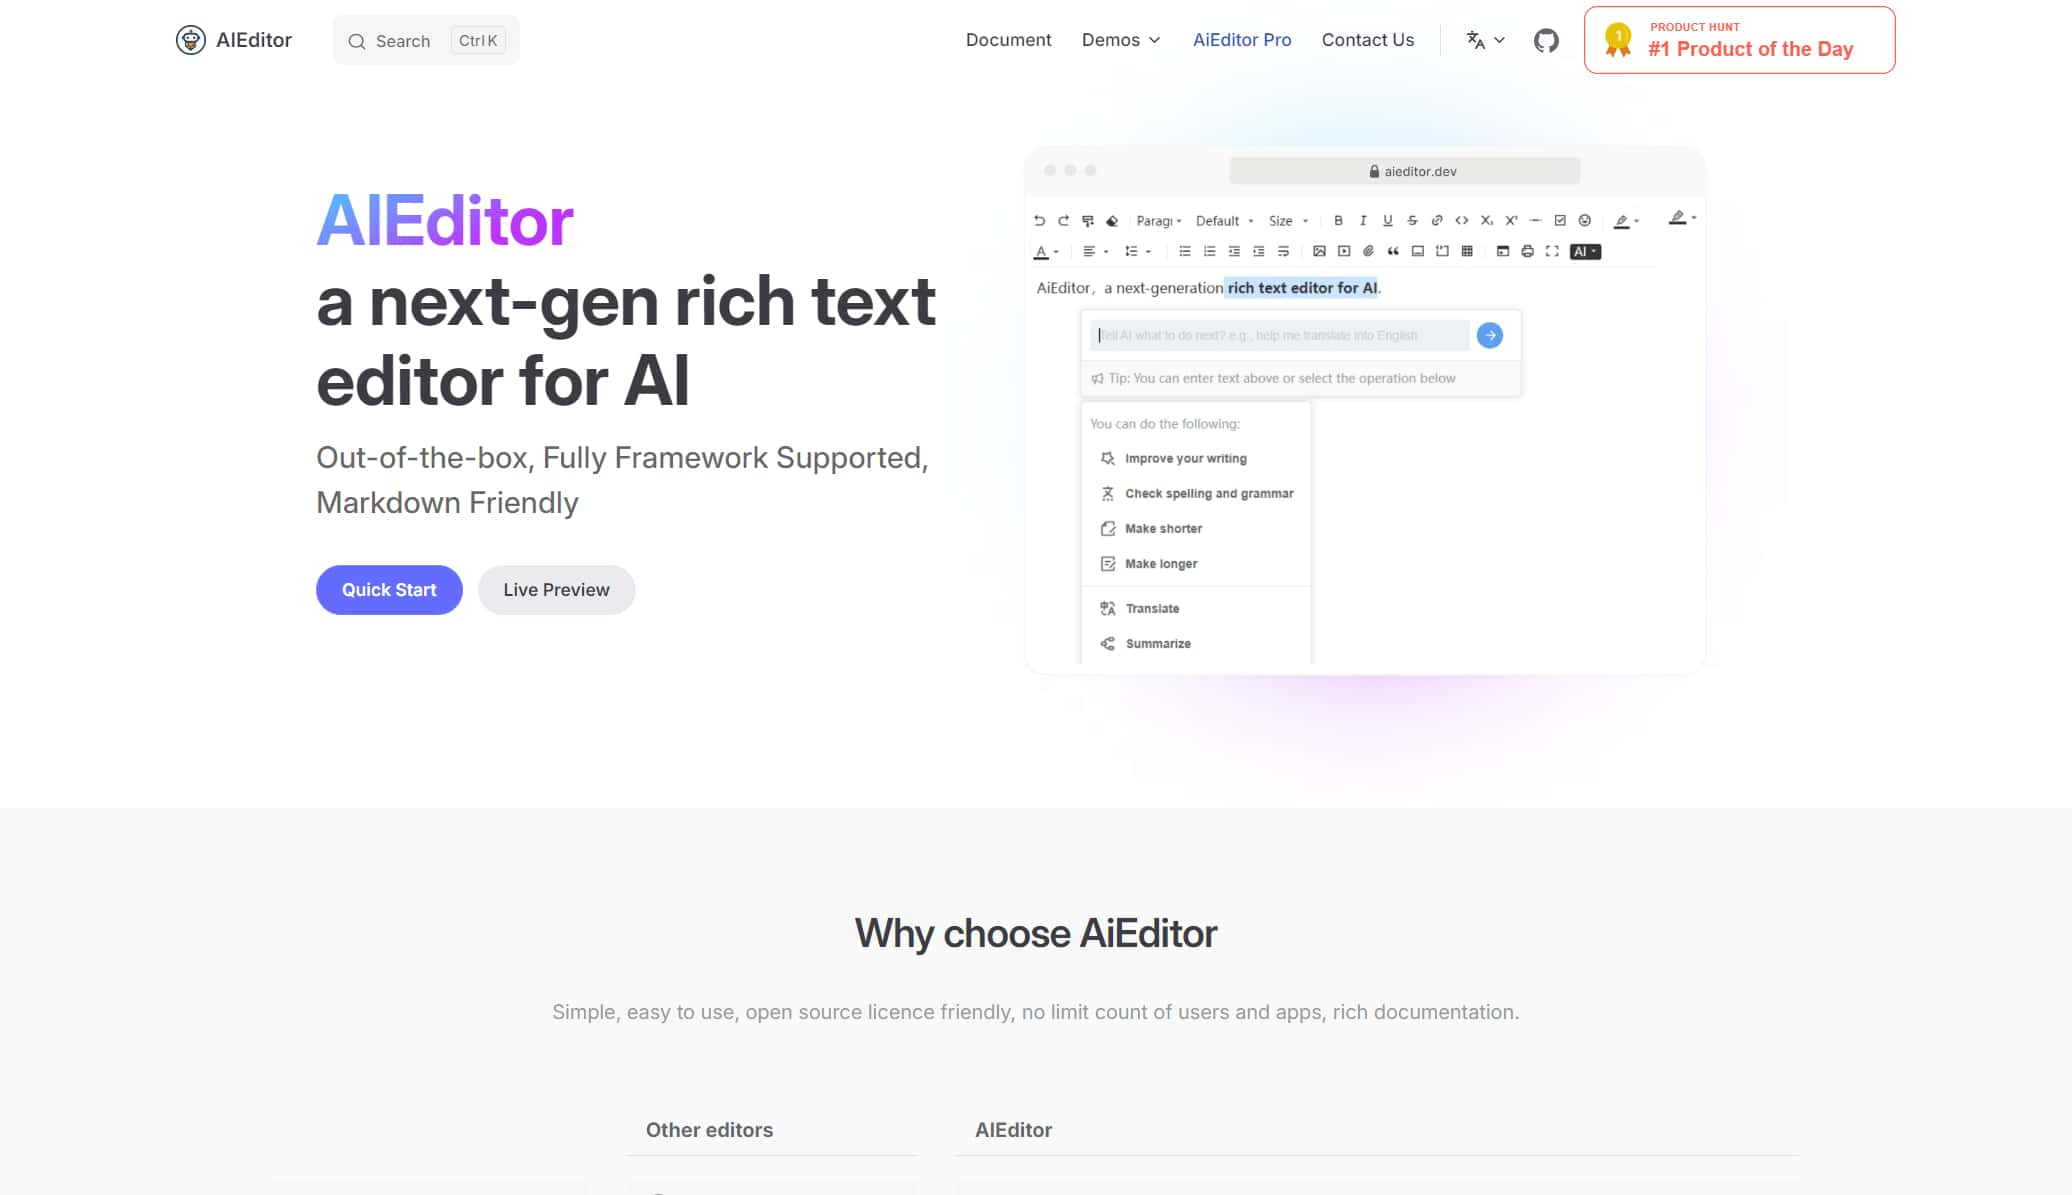
A next-generation rich text editor for AI, open-source rich text editor, modern rich text editor
Your next travel idea, let's talk here. Plan your travel with AI. Discover what to do on your upcoming vacation. Find things to eat in the most popular destinations in the world.

Flux 2 Max represents the most advanced release in the Flux 2 lineup, designed for creators who demand precision, realism, and production-ready visual output. As both a high-end AI Image Generator and a powerful AI Image Editor, Flux 2 Max pushes visual quality and consistency to a new level, making it suitable for professional creative workflows.
In this digital age, AI image generation tools are sparking an unprecedented creative revolution.Today, we delve into the mechanics of AI image generation, explore its underlying technology, and guide you in creating your own AI artwork!

This comprehensive guide explores the best AI image generators available in 2026, highlighting their unique features, strengths, and ideal use cases. We'll dive deep into each tool's capabilities to help you identify which AI image generator best suits your creative needs.